
Mark Phillips
@chefsoutherntemp
00:10
PREP
01:15
COOK
01:25
Total Time
Ingredients & Directions
Directions
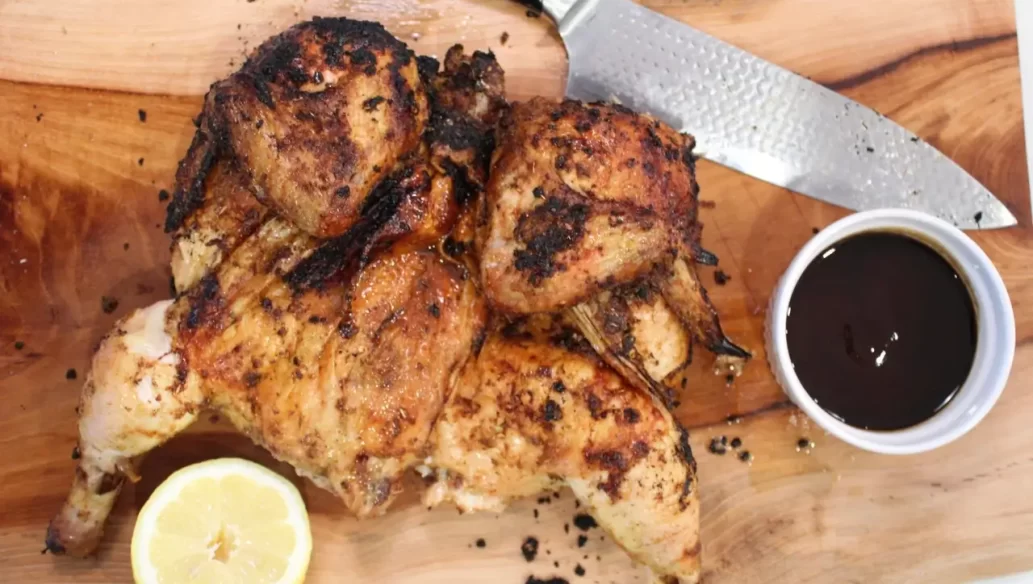
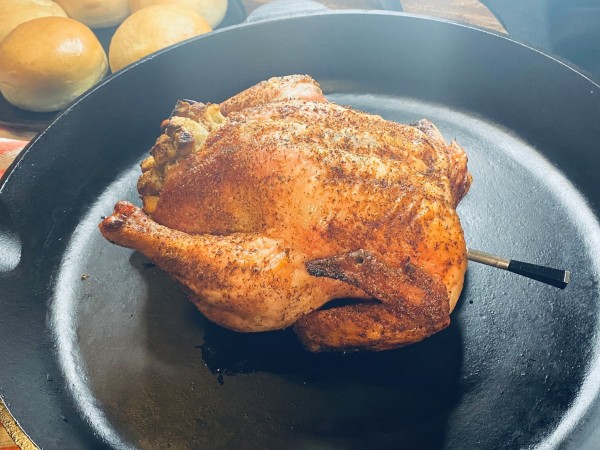
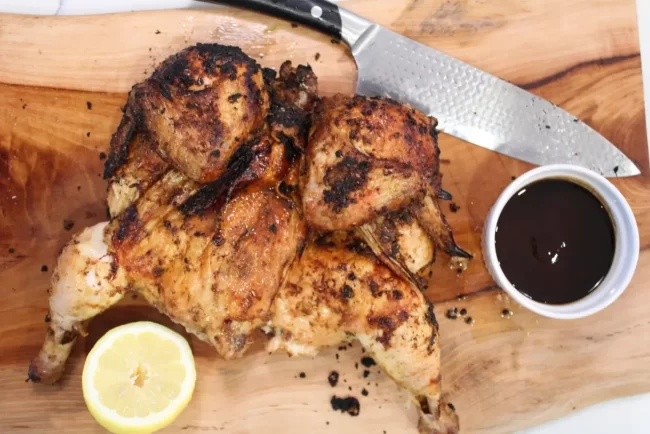
Grilled Wine Can Chicken
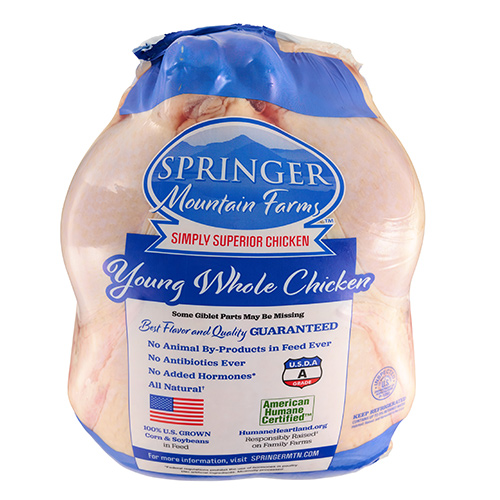
1
2 tablespoons
olive oil
2 tablespoons
salt
1 teaspoon
black pepper
3-4 tablespoons
of your favorite dry spice rub
1 can
wine* (label removed)
- Preheat your grill with an indirect cooking zone for the chicken.
- Remove neck and giblets from chicken and freeze for later use or discard.
- Pat chicken dry with paper towels, and rub chicken skin lightly with oil.
- Rub inside and out with salt, pepper, and dry rub.
- Open the wine can and take several sips or remove some of the liquid from the can so that it is half full.
- Place the wine can on a solid surface.
- Grab a chicken leg in each hand, and place the bird cavity over the can.
- Transfer the bird-on-a-can to your grill and place in the center of the grate, balancing the bird on its 2 legs and the can like a tripod.
- Cook the chicken over medium-high, indirect heat (i.e. no coals or burners on directly under the bird), with the grill cover on, for approximately 1 1/4 hours or until the internal temperature registers 165°F in the breast area and 180°F in the thigh, or until the thigh juice runs clear when poked with a sharp knife.
- Remove from grill and let rest for 10 minutes before carving.
- Serve with your favorite sauce or as is!
NOTES
*any carbonated beverage in an aluminum can may be substituted here, or chicken broth could also be used.
Did you make this recipe? Tag @smfchicken with #smfchickenrecipes


JOIN The FLOCK
Get coupons, recipes, and more
delivered straight to your inbox.
Yield: 4
00:10
PREP
01:15
COOK
01:25
Ingredients
Directions
Grilled Wine Can Chicken
1
2 tablespoons
olive oil
2 tablespoons
salt
1 teaspoon
black pepper
3-4 tablespoons
of your favorite dry spice rub
1 can
wine* (label removed)
- Preheat your grill with an indirect cooking zone for the chicken.
- Remove neck and giblets from chicken and freeze for later use or discard.
- Pat chicken dry with paper towels, and rub chicken skin lightly with oil.
- Rub inside and out with salt, pepper, and dry rub.
- Open the wine can and take several sips or remove some of the liquid from the can so that it is half full.
- Place the wine can on a solid surface.
- Grab a chicken leg in each hand, and place the bird cavity over the can.
- Transfer the bird-on-a-can to your grill and place in the center of the grate, balancing the bird on its 2 legs and the can like a tripod.
- Cook the chicken over medium-high, indirect heat (i.e. no coals or burners on directly under the bird), with the grill cover on, for approximately 1 1/4 hours or until the internal temperature registers 165°F in the breast area and 180°F in the thigh, or until the thigh juice runs clear when poked with a sharp knife.
- Remove from grill and let rest for 10 minutes before carving.
- Serve with your favorite sauce or as is!
NOTES
*any carbonated beverage in an aluminum can may be substituted here, or chicken broth could also be used.
Reviews
Overall Rating
No reviews yet. Be the first to leave one!
Review this Recipe